How to Roast a Whole Chicken: The Chef’s Masterclass
The Golden Rules: Temperature, Rest Time & Air-Drying
Achieving restaurant-quality results at home isn't about complicated gadgets; it's about mastering thermodynamics. To get a bird that is uniformly juicy on the inside with glass-crisp skin on the outside, you need to manage three variables: starting temperature, internal pull temperature, and rest time.
Never pull a bird straight from a 34°F refrigerator into a 425°F oven. Let it sit at room temperature for 30 minutes while you prep. More importantly, target an internal pull temperature of 158°F to 160°F in the deepest part of the thigh. Carryover cooking will safely coast the bird up to 165°F while resting, preventing the breast meat from drying out.
Why Ice-Chilled Poultry Delivers Crispier Skin
Most supermarket chicken is water-chilled—meaning the carcasses are submerged in ice-water tanks, absorbing up to 12% of their weight in water. When that water hits a hot roasting pan, it boils. You are essentially steaming the bird, which ruins skin crispness.
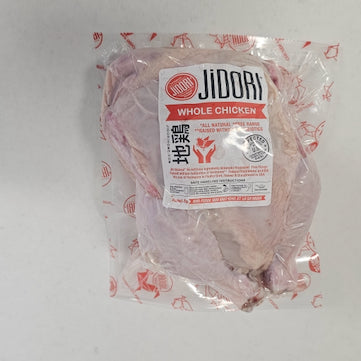
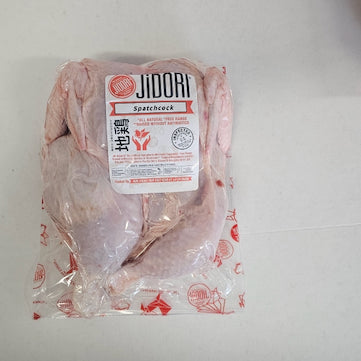
Jidori chickens are ice-chilled, meaning zero added water weight is retained in the muscle fibers. When you put a dry, ice-chilled bird into a hot oven, the skin immediately starts rendering fat and crisping instead of fighting off trapped moisture.
Dry Brining: The Science of the Pellicle
If you want shatteringly crisp skin, skip wet brining. Wet brining hydrates the skin, making it rubbery and hard to brown. Instead, use a dry brine:
-
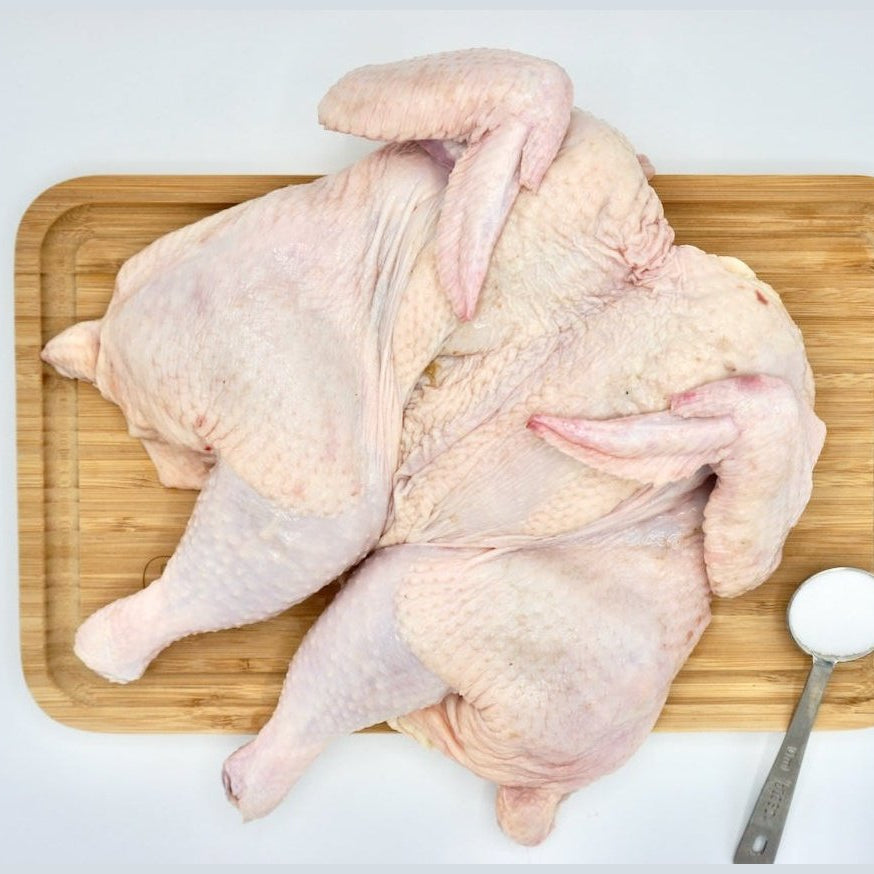
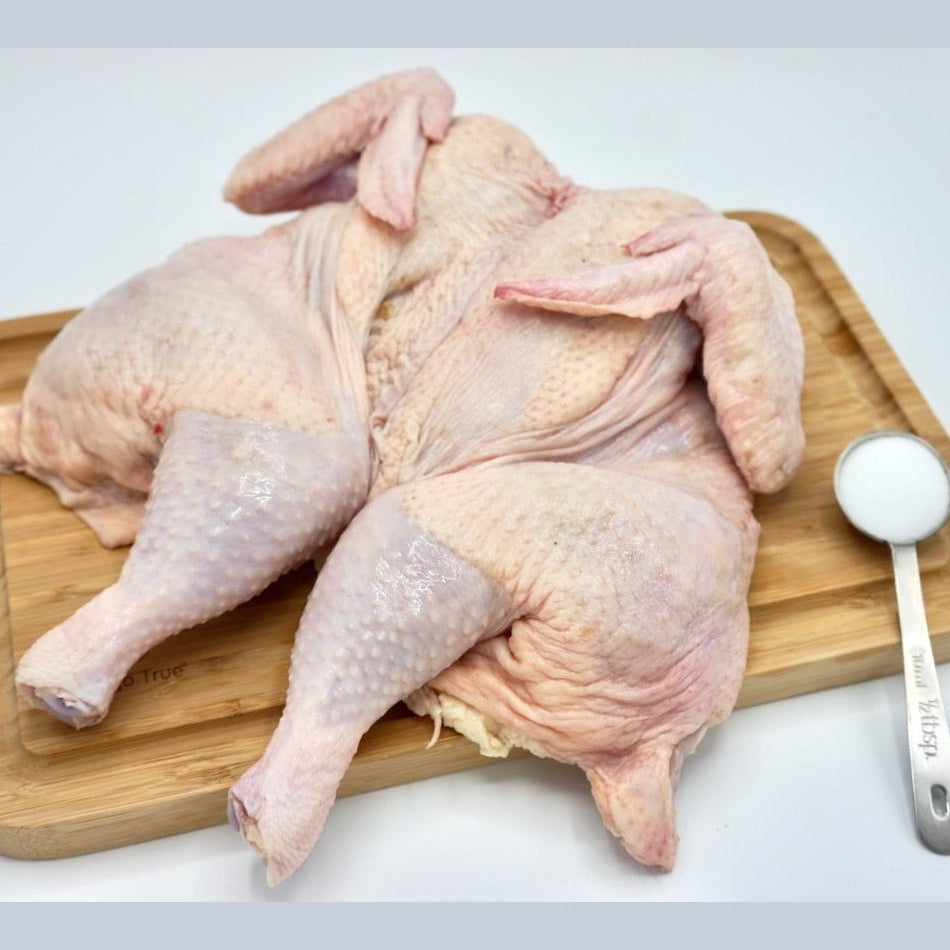
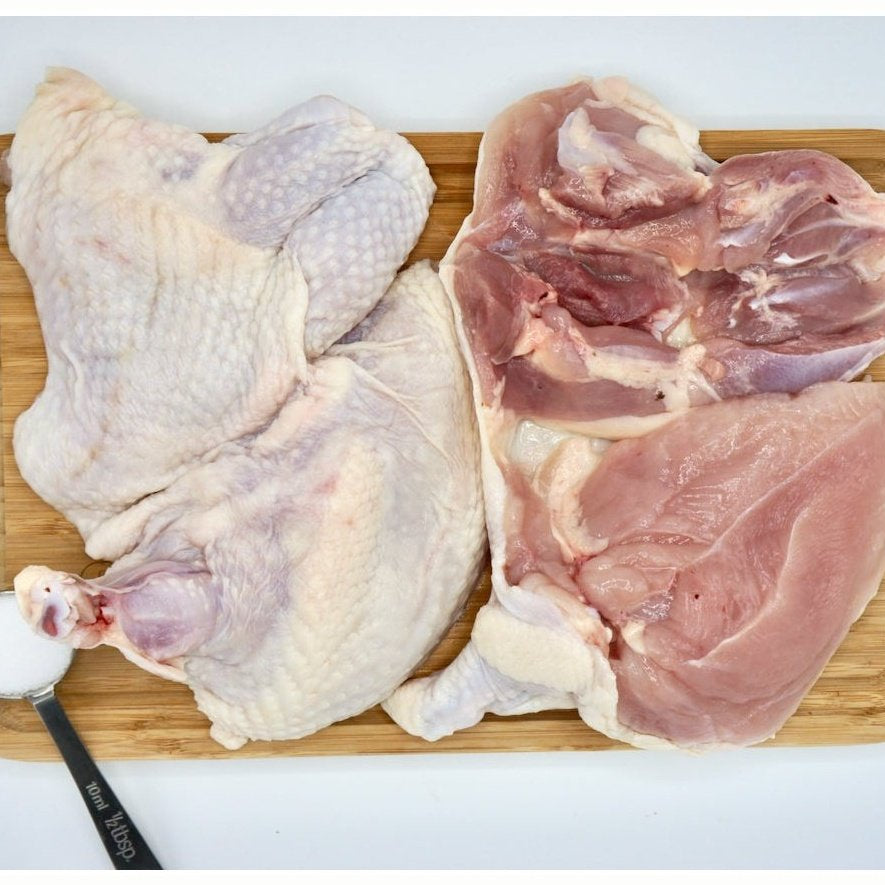
Apply 1 teaspoon of kosher salt per pound of meat directly to the skin and inside the cavity 12 to 24 hours before roasting.
-
Leave the bird uncovered on a wire rack inside your refrigerator.
Overnight, the salt dissolves, draws out surface moisture, dissolves into a concentrated brine, and is reabsorbed into the meat. At the same time, the refrigerator's circulating air dries out the outer layer of skin, forming a tight pellicle. That dry pellicle is the secret weapon to golden, blistered skin.
Step-by-Step Trussing & Roasting Guide
-
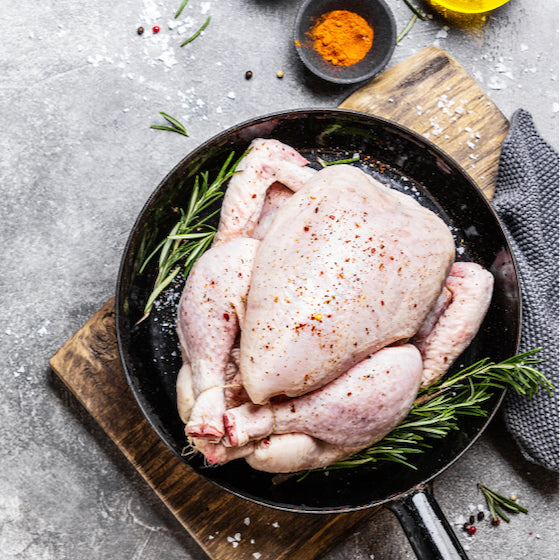
Prep & Truss: Pat the dry-brined bird completely dry with paper towels. Truss the legs tightly with butcher's twine so the wings and legs tuck snugly against the breast, ensuring even cooking times.
-
Initial High Heat: Place the bird breast-side up on a wire rack inside a roasting pan. Roast at 425°F for 20 minutes to aggressively render fat and jump-start skin browning.
-
Lower & Finish: Drop the oven temperature to 375°F and continue roasting until a digital thermometer inserted into the thickest part of the thigh registers 158°F–160°F.
-
The Rest: Transfer the bird to a clean cutting board or wire rack and rest it uncovered for 15 minutes. Cutting into it immediately causes the juices to purge onto the board. Resting allows them to redistribute back into the muscle fibers.
Making Pan Sauce & Glace from Drippings
Don't waste the fond left in the roasting pan. Place the pan over medium heat on your stovetop, add a splash of white wine or rich stock to deglaze, and scrape up all the caramelized brown bits. Reduce by half, swirl in a tablespoon of cold unsalted butter to emulsify, and you have an instant, restaurant-grade pan sauce to drizzle over your carved roast chicken. Read: what is chicken glace?