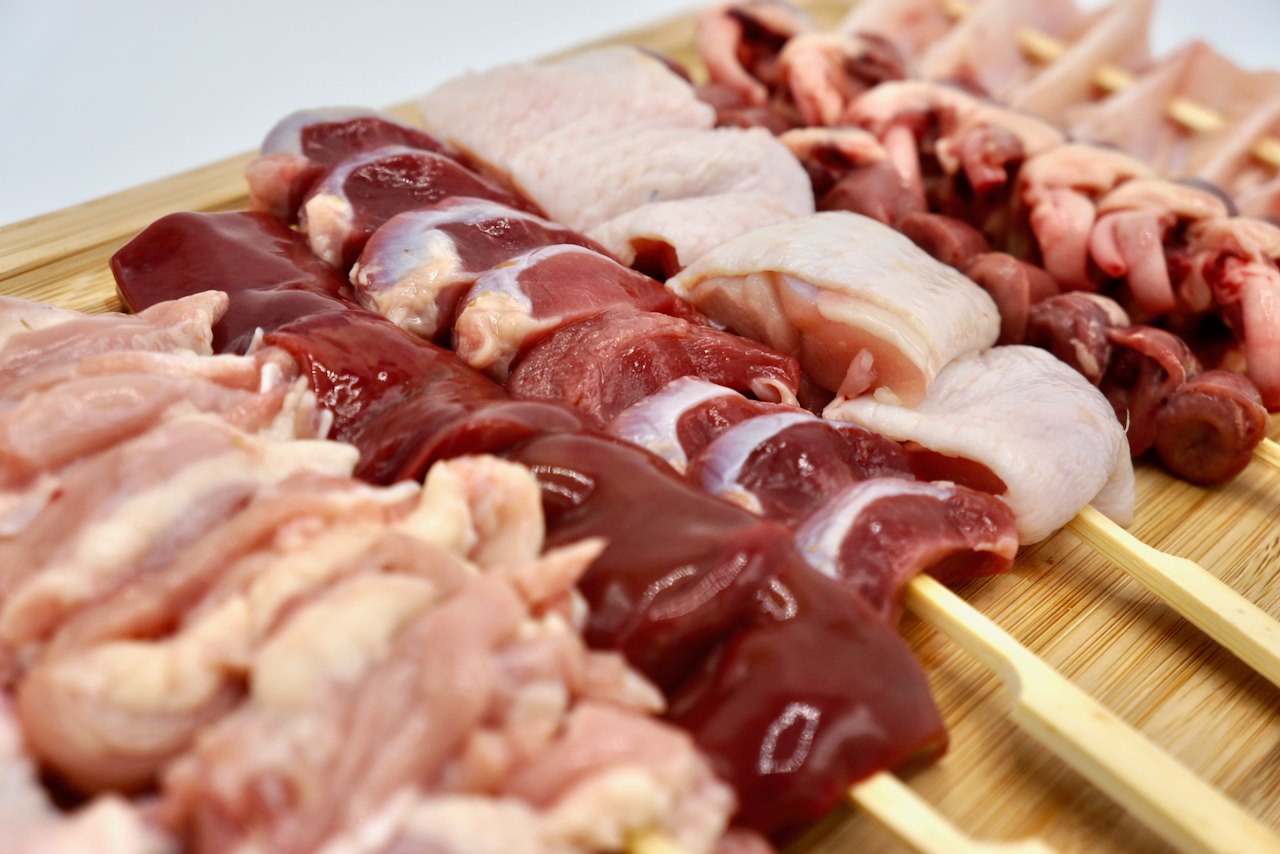
There's something universally appealing about food on a stick, and yakitori, the beloved Japanese style of grilled chicken skewers, is the newest and most exciting offering available directly from Jidori Chicken. Our skilled butchers have meticulously selected premium chicken cuts, expertly prepped and threaded them onto skewers. For your convenience and enjoyment, Jidori Yakitori Chicken packs come ready to grill.

Grilling yakitori is a distinct process that differs from simply tossing meat onto hot grates. It's a technique focused on control, consistency, and coaxing maximum flavor from each piece. This guide will focus specifically on the grilling phase – how to cook your prepared skewers for optimal results through careful heat management and constant attention.
Heat Management: Finding Your Zone

For most yakitori cuts, you'll want a medium-high heat. On a gas grill, this means setting burners to achieve this level. If using charcoal, aim for coals that are glowing red with a thin layer of ash, creating a hot zone and potentially a slightly cooler zone for managing flare-ups or finishing skewers. You should be able to hold your hand about 4-5 inches above the grate for roughly 3-4 seconds before needing to pull it away. Too low, and you won't get the necessary char; too high, and you risk burning the outside before the inside cooks.
The Rhythm of the Turn: Constant Attention is Key

Here’s where yakitori grilling truly distinguishes itself: you will be turning the skewers frequently, almost constantly. This is not a "set it down, flip once" scenario like you might with a ribeye steak. The principle here is to expose all sides of the chicken to the heat in rapid succession.
Why the constant turning?
-
Even Cooking: Frequent turning ensures that heat is distributed evenly throughout each piece, preventing one side from overcooking while others remain raw.
-
Preventing Burning: Rapid rotation prevents any single spot from burning or becoming excessively charred before the interior is cooked.
-
Rendering Fat Slowly: For cuts with skin, frequent turning allows the fat to render out gradually, leading to exceptionally crispy skin without excessive flare-ups.
-
Developing Flavor: The gentle, consistent heat application helps to develop complex flavors and aromas as the chicken cooks.
Aim to turn your skewers every 30 to 60 seconds in the initial stages of grilling. This might sound like a lot, but it's the core technique that yields authentic yakitori results.
The Grilling Process: On the Heat
The beauty of yakitori grilling is its focus on control and frequent turning. You don't need a specialized yakitori grill, although they are ideal. A standard charcoal or gas grill will work just fine.
-
Prepare the Grate: Ensure your grill grates are clean and lightly oiled to prevent sticking.
-
Place the Skewers: Place your prepared chicken skewers directly over the medium-high heat.
-
Begin Turning: Immediately begin the rhythm of frequent turning (every 30-60 seconds). Watch closely for color development – you're looking for a nice golden-brown to light char on all sides.
-
Monitor and Manage: As fat renders, you may experience flare-ups. If this happens, move the affected skewers briefly to a cooler zone on the grill until the flames subside, then return them to the heat.
-
Check for Doneness: Grilling time will vary depending on the thickness of your cuts and grill temperature, typically ranging from 8 to 15 minutes. The chicken should be cooked through – juicy on the inside with no pink. For accuracy, use a meat thermometer; chicken should reach an internal temperature of 165°F (74°C).
Seasoning: Shio or Tare?
Yakitori is typically seasoned in one of two primary ways:
-
Shio (Salt): A simple yet profound approach. Season the skewers generously with good quality salt just before grilling. This method highlights the pure flavor of the chicken itself.
-
Tare (Sauce): A sweet and savory glaze typically made from soy sauce, mirin, sake, and sugar, reduced into a thick sauce that will caramelize while on the grill.
Basting with Tare (If Using Sauce):
If you are using yakitori tare, the basting process happens towards the end of grilling.
-
Cook Mostly Through: Grill the skewers with salt only until they are nearly cooked through (about 80-90% done).
-
Apply Tare: Begin basting the skewers with the tare. Use a brush to apply a thin, even layer of sauce.
-
Continue Turning and Basting: Return the basted skewers to the heat and continue turning frequently (every 15-30 seconds) and basting 2-3 more times. The sauce contains sugar and will caramelize quickly, so vigilance is key to prevent burning. The sauce should become slightly sticky and glossy.
Serve your yakitori skewers immediately off the grill to enjoy them at their peak.
Two Yakitori Packs Guaranteed to Impress
Yakitori Starter Set: This “starter” set includes SIX skewers, expertly portioned and vacuum-sealed for freshness. You will receive:
-
2 pcs Breast (Sasami) – Lean and delicate with a clean finish
-
2 pcs Thigh (Momo) – Juicy, savory, and full of yakitori richness
-
2 pcs Wing (Boneless Tebasaki) – Crispy-edged and naturally flavorful
Chef’s Choice Yakitori Set: bring the full yakitori experience home with this set that includes NINE tasty skewers:
-
Breast (Sasami): Lean, tender, and mild
-
Thigh (Momo): Juicy, rich, and flavorful
-
Neck Meat (Seseri): Rare, juicy, and intensely savory
-
Liver (Reba): Creamy, bold, and rich
-
Gizzard (Sunagimo): Crunchy, meaty texture with umami
-
Heart (Hatsu): Slightly chewy with bold flavor
-
Wing (Tebasaki, boneless): Meaty and crisp
-
Soft Bone (Nankotsu): High in collagen, satisfying crunch
-
Tail (Bonjiri): Succulent, fatty, deeply flavorful
Jidori yakitori skewers are ready to grill and offer superior flavor that is able to stand up to just salt. Follow our direct grilling instructions to ensure the right amount of doneness and texture. Try one or both and take your friends and family on a new dining adventure.

